Inspire and Motivate the People in Your Life


Breakthrough Leadership
Great leaders share common traits that separate them from the pack. Download your copy of my signature ebook, Breakthrough Leadership: 5 Surprisingly Simple Qualities of Today’s Exceptional Leader, absolutely FREE when you enter your name and email address below.
Thomas defines what breakthrough leadership looks like with his own life. These characteristics of exceptional leadership are foundational for anyone looking to step up their game.
Nathan Chapman, Pastor at Bellwether Church

Hey – I’m Thomas!
And I’m so glad you’re here! I walk alongside people just like you and teach them how to transform the way they lead their family, peers and organizations through simple, actionable advice that’s proven to inspire remarkable change.
My Best Articles
I believe you are capable of far more than you realize. My best content furthers my professional mission: to help leaders flourish. You can find some of those articles below, or you can click here to view them all.
How to Write an Authentic and Thorough Self-Evaluation (+112 Examples)
Discover the art and science behind writing an authentic self-evaluation that reflects on past experiences and fuels future growth.
How to Deal With Feeling Overwhelmed at Work: 13 Tried and True Strategies
If you’re feeling overwhelmed at work, it’s time to remove stressors (delegate/delay/delete) or learn new stress management techniques like those in this guide.
Boss vs. Leader: Which One Are You?
Are you a boss or a leader? Discover the impact of your management style on your team and transform your leadership with my actionable insights.
How to Create a Year-in-Review Template [Bonus Free Sample!]
Discover my comprehensive year-in-review template where you’ll reflect on the highlights and lessons of the most recent year and set goals for the next.
My 2023 Year in Review
In my 2023 year in review, I recount the peculiar tale of two halves. The first half was dark and moody; the second half was light and hopeful.
What Is a Mission Statement? 6 Successful Examples + Free Template
A mission statement is a short and simple description of an organization’s purpose. Learn the purpose of a mission statement and how to write one in 4 proven steps.
The Art of Coaching vs. Managing: 5 Smart Strategies
Discover the key differences between coaching and managing. Unlock 5 proven strategies to elevate your leadership and boost team performance.
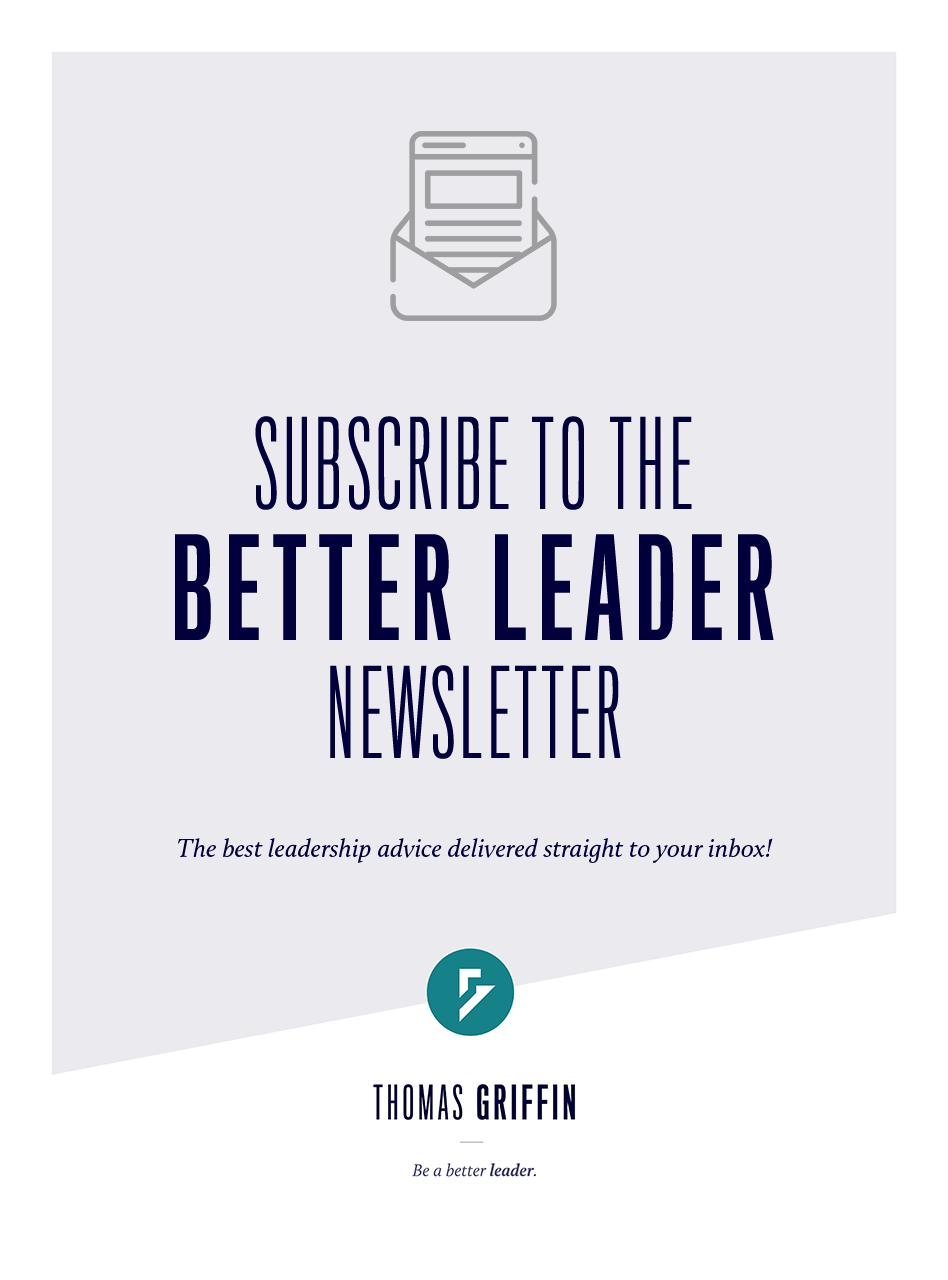
The Better Leader Newsletter (Leading with Integrity)
Leadership thrives on integrity and crumbles with deceit. Do your actions match your words? Are you leading out of character or personality?
People Quit Bosses, Not Jobs: Why Employees Are Frustrated With Leadership in 2024
From poor communication to micromanagement, discover why people quit bosses, not their jobs and learn 8 guiding principles to help you become a leader worth following.
53 Surprising Leadership Statistics on Training, Culture, Development and More [2024]
Think you know leadership? Think again! Discover the latest (and surprising) statistics on the current state of leadership in the workplace.
The Better Leader Newsletter (The Four Leadership Rhythms)
Discover the four leadership rhythms that characterize truly great leaders. Then ask yourself the question: are these rhythms part of my habits and routines?
How to Create an Individual Development Plan (Template With Examples)
An individual development plan (IDP) is a valuable tool for employers to help their employees achieve their professional goals. BONUS: Claim your free template!
19 Time Management Strategies for Highly Effective People
Boost productivity with these 14 time management strategies: figure out when you work best, follow a morning routine, automate tasks, schedule breaks, and more.
Communication Styles in the Workplace: Examples and Types
Explore 5 workplace communication styles and enhance your ability to communicate effectively with others. Uncover diverse approaches to better interactions.
Core Values List: 71 Values to Develop Your “Why”
Learn about what core values are, how to find yours and how to use them to be healthier, happier and more fulfilled in your personal and professional life.